
I love my stamps – and a good design can be so versatile! The thing about stamps is that you can use them over and over again and they never go to waste. Using the same stamp in different ways combining them with different products and techniques is what makes stamps so versatile. So for this week’s project I took to the new artistic stamps from Prima – don’t you just love the “girls”.
Prima’s frame of mind – the artist within!

So once I decided on the image I wanted to use I thought it would be fun to do a bit of a masking technique and combine the image with different stamps and stencils to create a background effect. So here’s how I did it:
-
Step 1:
stamp the Karlie image twice. Once on the white cardstock you will use for your project and again on a scrap piece of paper.

-
Step 2:
cut out the image stamped onto the scrap piece of paper. You want to cut on the line as opposed to just outside the line on the outer edge.
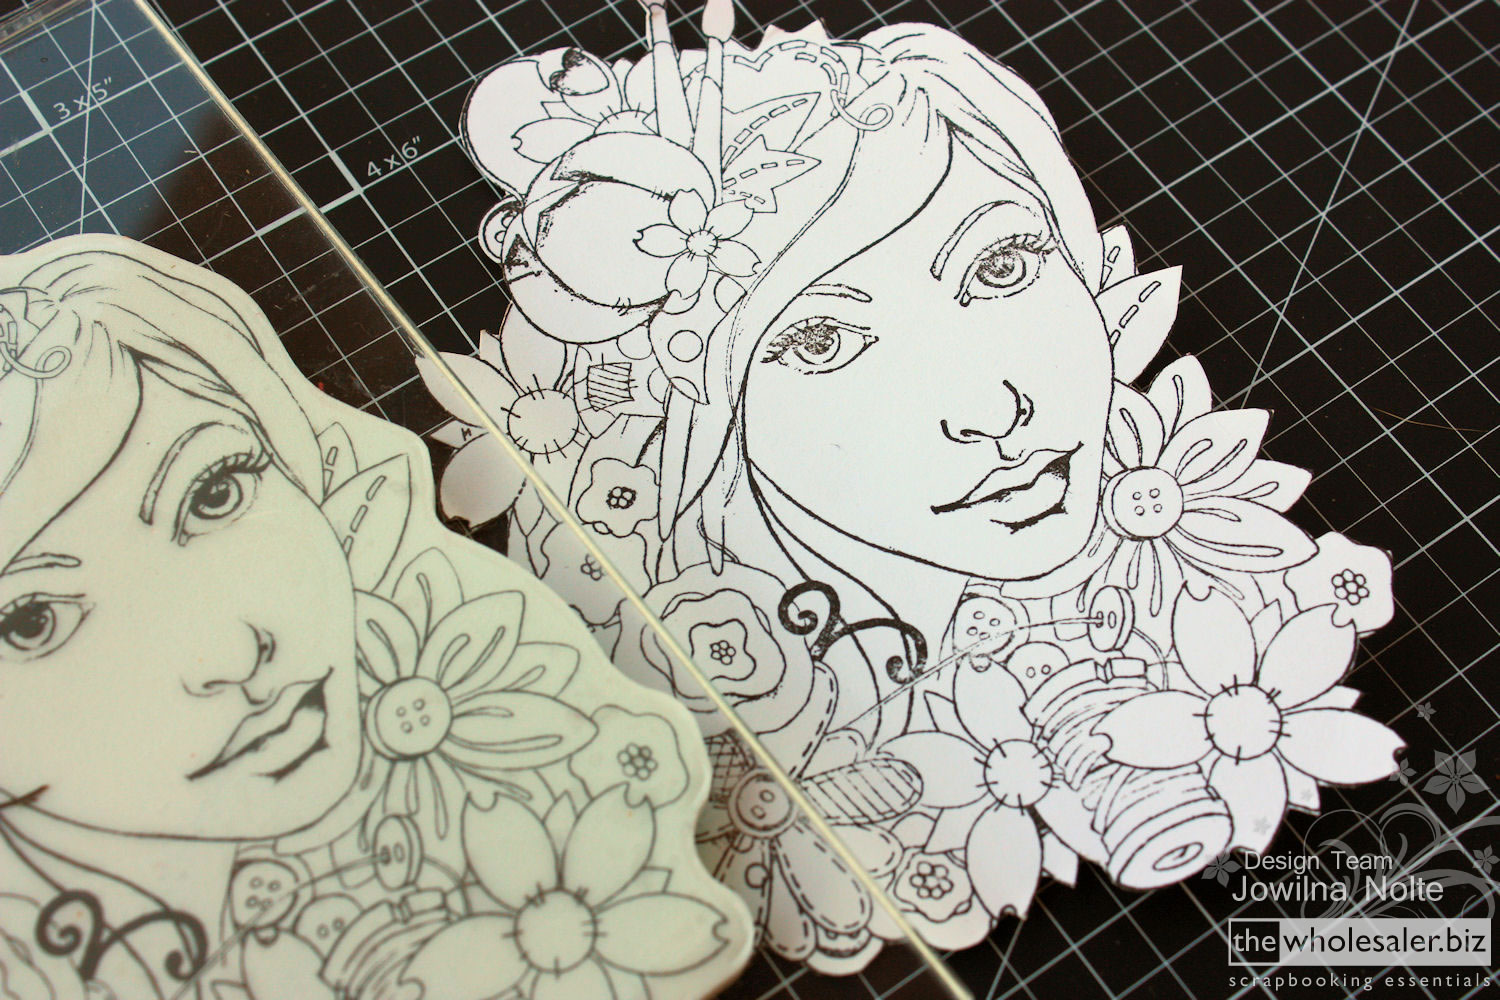
-
Step 3:
use sticky squares to adhere the cut out image on top of the image stamped onto your cardstock. Then ink your second stamp and over stamp onto the background where you want your design to be.
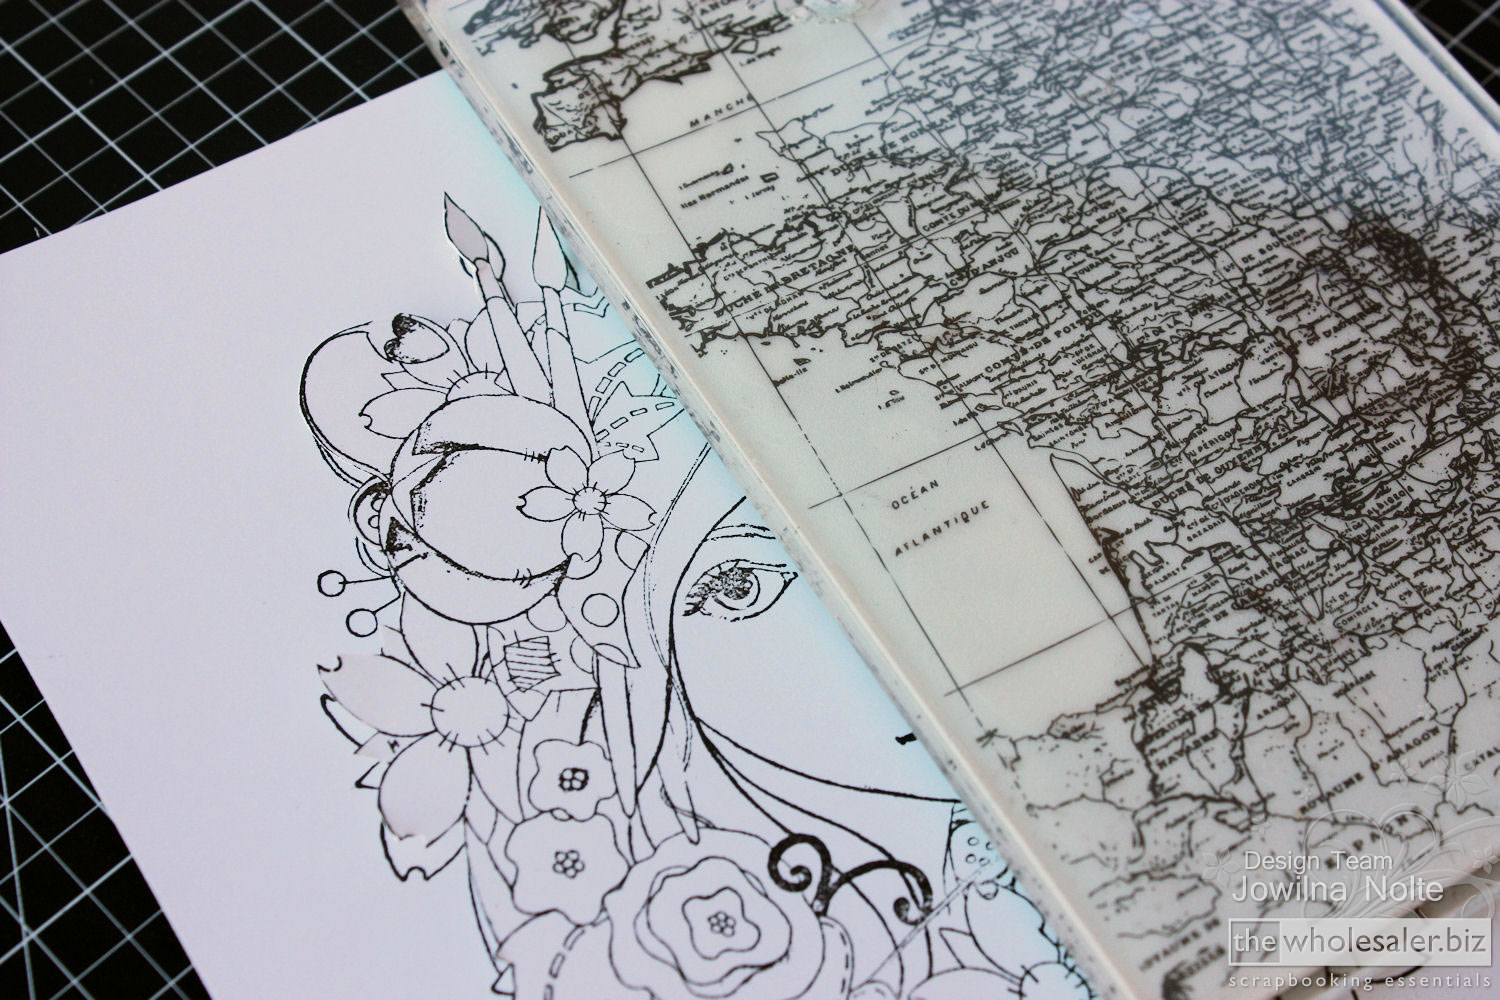
-
Step 4:
when you lift your stamp you can see that you stamped onto the background as well as onto the cut out image only. When you remove the cut out image from your project the second stamped image will appear as if it is in the background behind the original stamped image – pretty cool! TIP – the cut out image also prevents you from messing up your original image – this is a great way of adding stamping to a project after you have finished it and if you think it needs a little something!
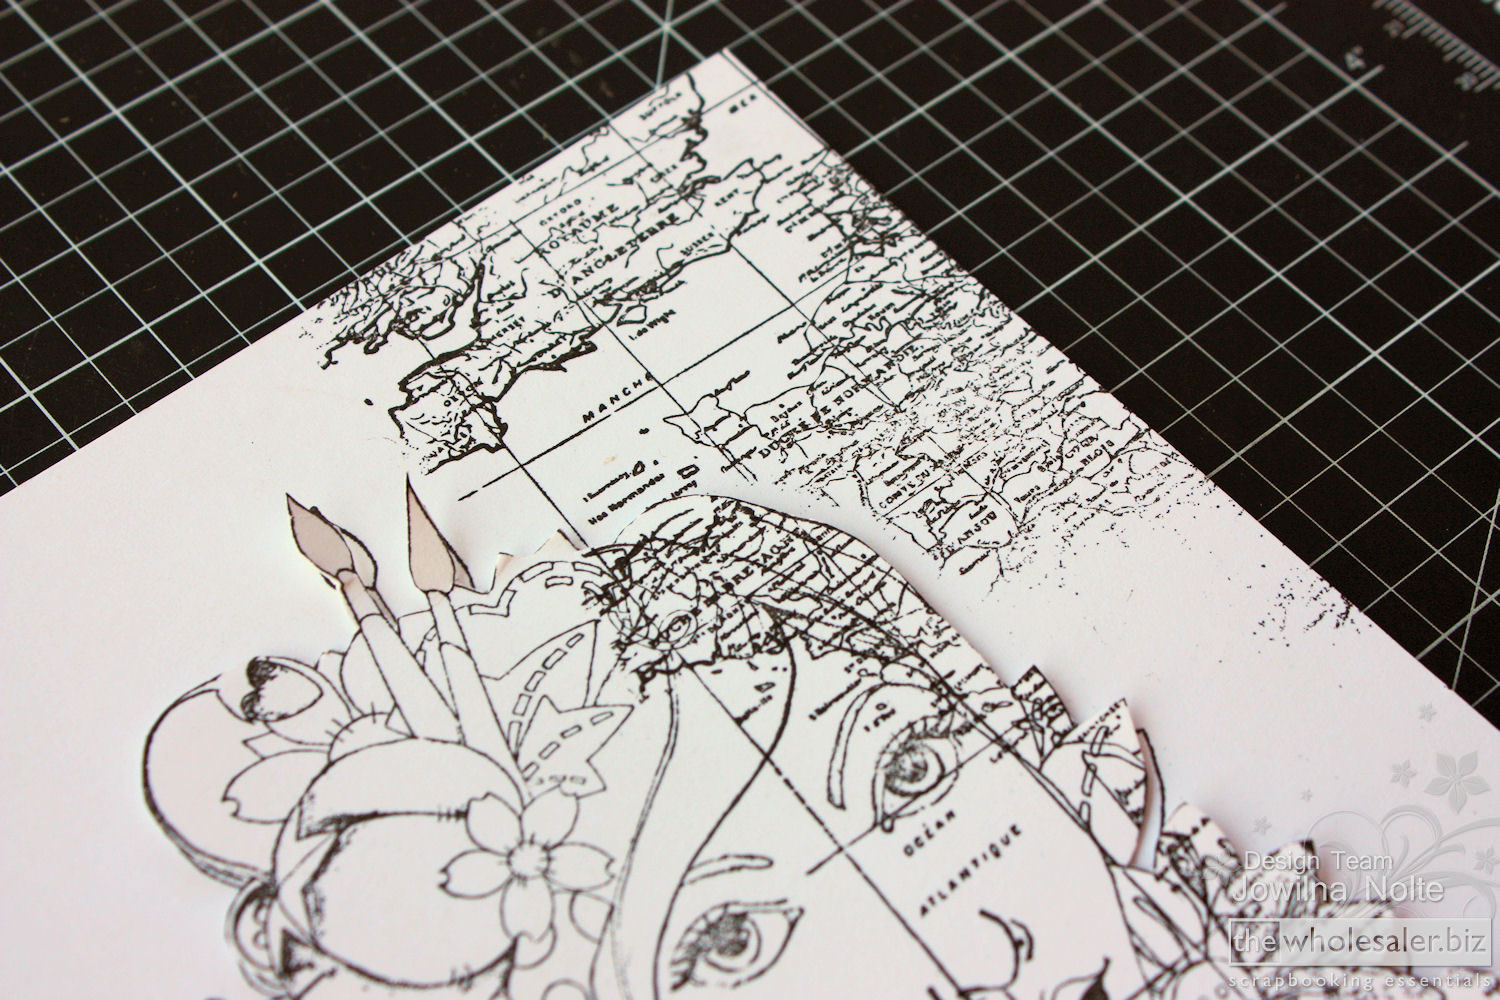
-
Step 5:
use your artiste markers and water to colour in your image. Once you are done colouring add some gold glitter glue to dress up your image and add some sparkle to it.

I cut my image smaller and added some stencilling and ink splats to the background. My stamped images created a corner effect to frame the centre image. I then added flowers and other decorative elements to finish off my art work before popping it inside of an empty gift box lid. In the end I had a funky little artwork to use in my studio.

I hope this Prima stamping tutorial has inspired you to pull out those stamps and utilise them even more! Happy stamping!

Products Used
- Prima Cling Stamp – Karlie [PM 980023]
- Prima Cartographer Cling Stamp [PM 990114]
- Artiste Dual Tip Pens – Brush & Marker – Watercolour [DDOA851303]
- Couture Creations Glitzin Glamour – Aztec Gold [ADCO 721981]
- Prima Seashore Collection Kit [PM 814144]
- Tsukineko VersaFine Ink Pad – Onyx Black [TVF-82]


4 Comments.
Hello, I absolutely love this stamp. How can I order the stamp and I would also like to order the Artiste Dual Tip Pens. Do you give classes on how to “colour” in the stamps?
Thanx
Sandra
xxx
Hi Sandra – she is simply gorgeous isn’t she? I suggest you contact your closest craft store to order both the Stamp and Artiste Markers for you from The Wholesaler. You can also search your closest store by heading here http://www.thewholesaler.biz/Store_locator.
You are more than welcome to mail regarding classes in colouring – I am based in Gauteng. (jowilna@scrapcouture.co.za)
I hope this helps!
Regards Jowilna
Hello Sandra
Please see Jowilna’s comment regarding classes! How exciting :)
You can find a comprehensive list of retail stores across Southern Africa (click here) or take a look at the list of on-line stores (click here).
Hope you have a lovely day!
Ek is n verskaffer van The Wholesaler as jy wil bestel.