
Stamping has and will always be one of the most versatile techniques in card making and scrapbooking. Having a stamping background StazOn has never been one of my favourite inks for stamping onto paper – but when it comes to versatility it comes out tops! A solvent based ink pad that will let you stamp onto multiple surfaces permanently and effectively opening a whole new world of creativity!

Here are my top 10 tips for using StazOn Ink:
- Because StazOn Ink dries incredibly fast, you need to be careful to use the plastic protective cover found inside your StazOn lid when storing your StazOn Ink. Do not throw this cover away! Tip: If you would like to simplify the use of this cover, use one or two mini Glue Dots between the plastic cover and the StazOn lid to keep them together.
- I find fine line images work best with StazOn ink. If your stamp image has bold areas, it can be difficult (but not impossible) to ink thoroughly and get a solid stamped image.
- Due to the quick drying qualities of StazOn ink, you have to stamp immediately after inking your stamp. If you allow the stamp to sit with the ink on it your image will not stamp thoroughly.
- After stamping with StazOn Ink, be certain to allow your image to dry thoroughly before adding additional colour. While StazOn is a permanent ink, it will smear if it is not dried thoroughly. On glass, plastic and metals you can heat set it with your heat gun.
- If you are working on a project and are worried about smearing, you can also add a fine layer of a fixative spray to ensure permanence.
- StazOn ink will stain your stamps, especially your wood blocks, but I believe a well-worn stamp is a well-used stamp. That said, to ensure that you do not discolour future projects, remove the ink from the rubber using StazOn stamp cleaner. The cleaner is specially formulated for this solvent-based ink. I also use an old dishcloth to wipe my stamps making sure all the ink is removed.
- If you are still worried about the amount of staining you can do the following: I ink my stamp with VersaMark ink first and then with StazOn, this way there is a clear layer of ink on the rubber itself and the black ink sits on top of that limiting or preventing staining.
- StazOn black ink is a different black when compared to VersaFine – blue black vs pitch black – some useful info in case it matters to you when stamping onto cardstock or paper.
- One word of warning – there are many surfaces from which it is difficult to remove StazOn ink – please keep out of reach of children!
- One of the wonders of StazOn Ink is the number of surfaces you can stamp on with this ink! While you can stamp on any paper (and it will be dry almost instantly depending on the paper), you can also use it on non-porous surfaces such as transparencies, vellum, plastics, leather, glass, dominoes, tiles and metal surfaces. With the purchase of this ink, you open a whole new world of stamping crafts!

Completing my male inspired card
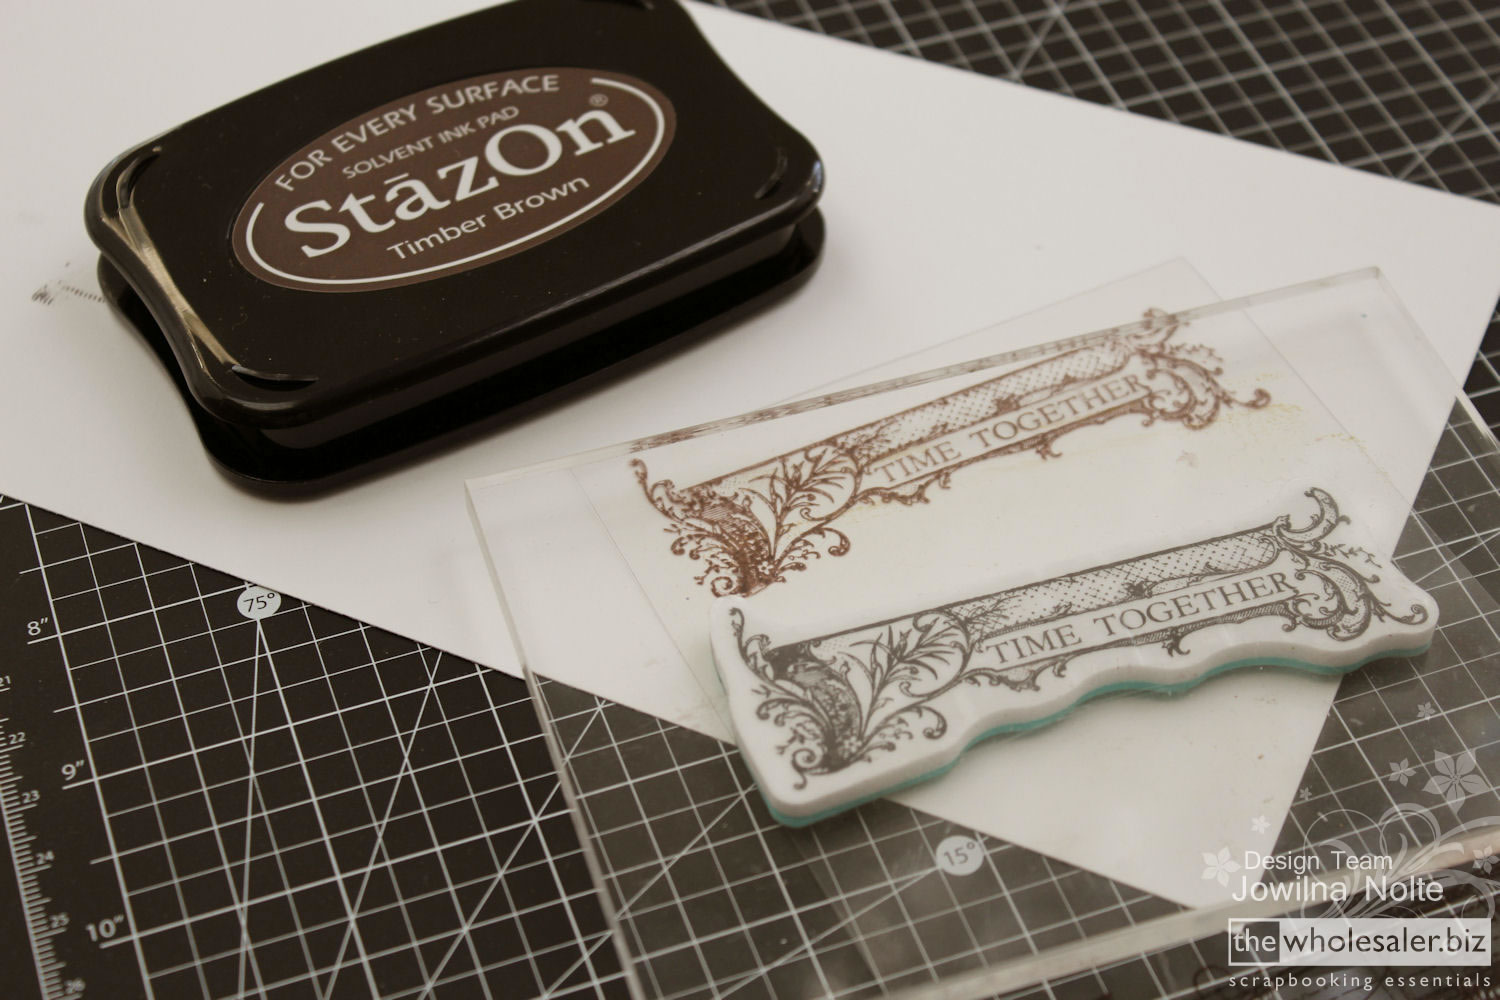
Because of its versatility I decided to make a male inspired birthday card. I started off stamping my train image onto a scrap piece of plastic packaging.
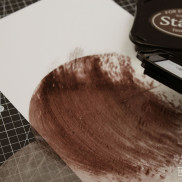
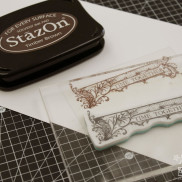
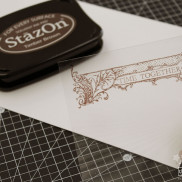
TIP – to make stamping on plastic easier, I place my plastic onto a sheet of white cardstock and then stamp, this makes placement and positioning of your stamp a lot easier.


I then sewed it onto the front of my card using my sewing machine – this adds a nice touch of texture to it, but also acts as an adhesive instead of something that will be visible from behind the plastic.

For my embellishments I used StazOn ink and a finger dauber to ink some cream pearls and make them brown – I love how they turned out. The dauber causes a slight textured effect as you ink the pearls. Let them dry before adding another layer of ink for a nice solid covering.

At the bottom of my card I used a die-cut. To add additional colour to my die cut behind the open spaces, I coloured a piece of ‘glassine’ … Glassine is a very thin and smooth paper that is air and water resistant. It is translucent unless dyes are added to colour it or make it opaque. Glassine is employed as an interleaving paper in bookbinding, especially to protect fine illustrations from contact with facing pages; the paper can be manufactured with a neutral pH, and can prevent damage from spilling, exposure, or rubbing.

I used my StazOn ink pad to colour my glassine and once it was dry I added it behind my die-cut before adding it to my card.
I also used my StazON and sponge dauber to add colour to my resin element. I simply added some ink with my dauber and then used a soft cloth to spread out the ink and get right into the grooves – I loved the effect the brown StazOn ink had on the white.

It just goes to show that StazOn inks can be used in various ways to alter embellishments to suit your needs!
StazOn inks are available in various colours but my favourite and most useful colours are Timber Brown, Jet Black and Stone Grey! I hope you enjoy stamping on plastic!
Products Used
- Tsukineko – StazOn Ink Pad – Jet Black [TSZ-31]
- Tsukineko – StazOn Ink Pad – Stone Grey [TSZ-32]
- Tsukineko – StazOn Ink Pad – Timber Brown [TSZ-41]
- Prima – Cartographer Collection Kit [PM 990190]
- Prima – Time Traveler’s Memories Cling Stamp [PM 814021]
- Ingvild Bolme Resin Collection – Cherub Fireplace [PM 892036]


2 Comments.
Lovely card…. gorgeous diecut. Thanks again for the great tips
Hello Jowilna
Thanks so much for this, it looks great and I will definitely try a few of these techniques. Please tell me what resin you use and where you get it from.
Many thanks
Jen