
In our house we have a thing for making our own designs and then ironing them onto t-shirts. But until now things were quite limited – that was until the Silhouette. Now we have access to so many designs ad products and we really have a feast creating our own custom outfits.

Today I am sharing the settings and things I learned while using the Silhouette heat transfer material
[custom_list type=”dot”]
-
Step 1
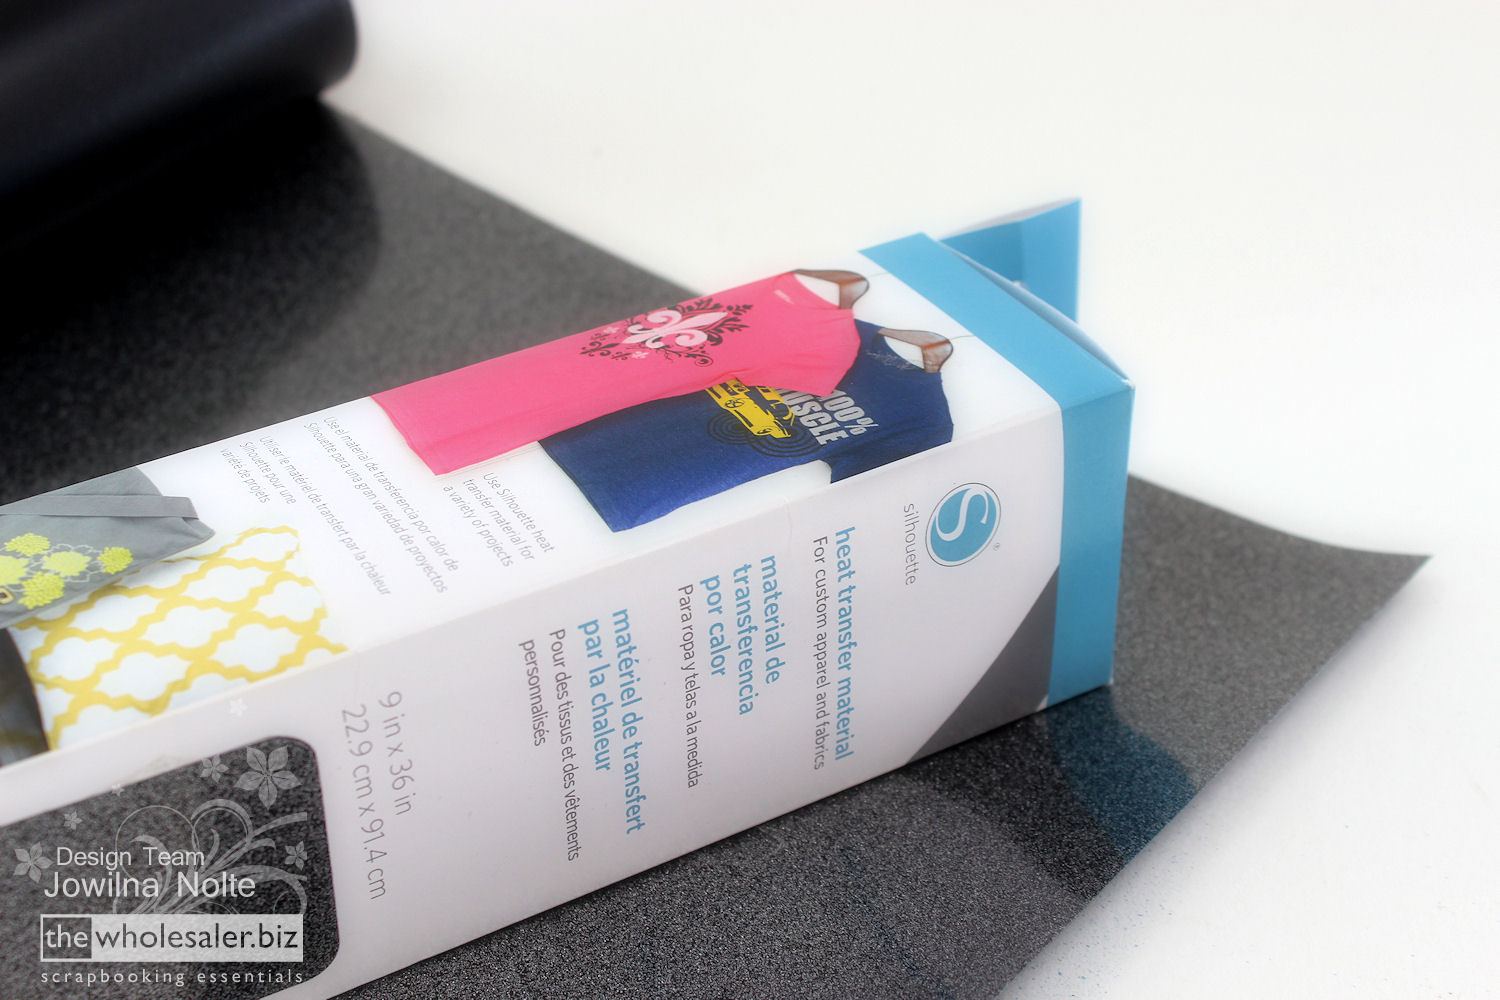
Gather your glitter heat transfer material. When cutting this you don’t need to use your cutting matt, although some ladies do. I don’t.
-
Step 2
I set my cutting page settings to the size of the entire roll of heat transfer material. This way I have a more accurate view of what I am designing, how big the image or wording is – a true representation. In the top right hand corner you can see I set my page to 9×36”. Create your design to iron on the front of your t-shirt. If you are doing wording or a quote, remember to “mirror” your writing.
-
Step 3
Change the rollers so that you can load the material. Flip the handle on the right hand side to release the roller bar, move the white roller on the right hand side to the right width for your heat transfer material. Remember to fasten the handle again after setting the rollers.
-
Step 4
Load the material into the machine. Make sure to move the arrow down on your LCD screen to “load material” instead of load cutting matt.
-
Step 5
Remove the blade from the blade casing and insert it into the hole on the left of your machine base, or the grey cap – set your blade to position “1”.
-
Step 6
Change your cut setting to “Heat transfer material ‘flocked’”. I tried cutting on the smooth heat transfer setting and it didn’t cut through, so with all things I tried until I found the setting that worked.
-
Step 7
I draw a block around the design to make it easier to remove the excess material that need to be peeled. Also do a text cut first to ensure that your material cuts right. Rather be safe than sorry and mess up a whole roll of material. Cut the design.
-
Step 8
Use your paper piercer (if you don’t have a hook) and remove all the material around the cut design. I peel a bit and then cut it off before peeling again.
-
Step 9
Once the entire design is revealed, remove the outer block of material as well. When you flip your design over the plastic layer should be on the front and you should be able to read the wording correctly.
-
Step 10
Place the design with the plastic face up on your fabric/t-shirt. Cover the plastic with a cloth. Heat your iron on the cotton setting and then place the iron on your design for 50-60 seconds at a time to transfer the design.


-
Tips and Tricks
I think my iron was a bit hot as the plastic started to melt and curl up, this means that there are not hard and fast rules when doing iron on transfers – you have to just try it. Start off with a small design and practice on something like a scrap piece of fabric or an old t-shirt.
In the end I really love how it turned out. The Silhouette heat transfer material is amazing and looks really good. So all in all I am pleased with this glitter t-shirt for a special friend.
Products Used
- Silhouette CAMEO® Electronic Cutting Tool
- Silhouette Scrapbook Queen text Design ID #45316
- S-HEAT-TRANS-GLBLK Silhouette Heat Transfer Material – Black Glitter
- S-TOOL-01-3T Silhouette CAMEO Hook


2 Comments.
Thanks so much for this.. have had material for ages but wasn’t sure how it worked.. this will help so much ! You are a star.. Your step by step tutorials are amazing ! Hugs, Mich
There is certainly a great deal to find out about this topic.
I like all of the points you made.