
One of my favourite things to create since my addiction to cutting vinyl began is a custom sign. I am not quite sure why this festive season sign turned out to be black, maybe a reflection of my uncertainty about 2020 and heading into 2021, or maybe it’s the gorgeous black Christmas bauble with black feathers that guided me to a more subtle Christmas decorating style this year. Who knows? But what I am sure of is that I love the process and love making these signs. And with my Cricut Maker things are just so easy to do.

Step 1:
I used an old piece of wood and sprayed it using white chalk spray for my base.

Step 2:
Measure the size of your board and cut your vinyl quote to fit. Mine measured 9×9”.
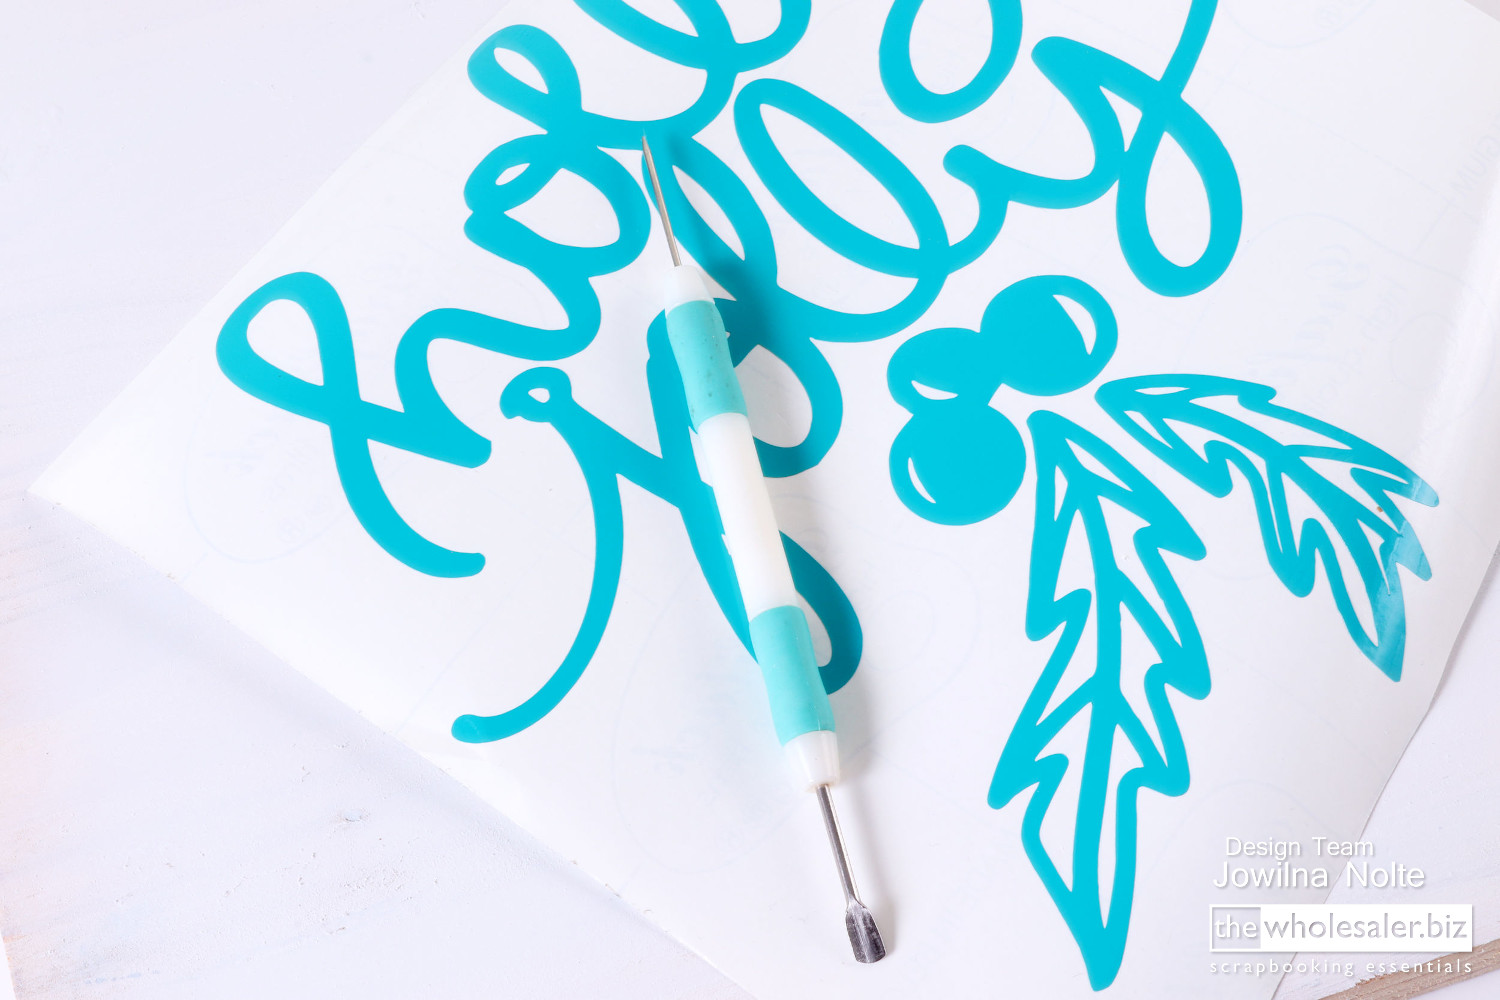
Step 3:
Once you are done weeding the design add some transfer tape to the front and burnish with your bone folder.

Step 4:
Peel the backing of the transfer tape off.

Step 5:
Add the vinyl to the board and use your bone folder to burnish the vinyl. Peel off the transfer tape.

Step 6:
Paint a layer of black or any colour you choose acrylic paint over the vinyl and leave to dry.

Step 7:
Once dry, peel off the vinyl to reveal your white lettering/design.

Step 8:
Sand the board, then add a combination of dark and clear wax and buff until smooth to the touch. The wax will protect and seal the paint.
Arrange the rustic sign board to create a beautiful Christmas display together with some fairy lights, trees and baubles.


