
Beautiful effects can be hard work – layer upon layer you build up a beautiful mess that becomes a masterpiece in the end. It takes time and patience to achieve a striking effect.
Today I am sharing how I used a variety of products to create layers of shine on top of each other for a spectacular finish.
-
Step 1
You will need a stencil, texture paste and a palette knife.
-
Step 2
Work on any piece of cardstock – I used a scrap piece from my stash. Apply a nice even and smooth layer of texture paste through the stencil. Carefully remove the stencil and leave the paste to dry.
-
Step 3
For the layering of the colour you will need Walnut ink crystals, 2 colours of pigment powder and All Purpose ink (not pictured).
-
Step 4
Add a small amount of pigment powders onto a palette.
-
Step 5
Use a paint brush loaded with water, mix the powder into a thin paste and apply the lightest colour of shimmer first over selected areas of your stencilled pattern.
-
Step 6
Then repeat the process with your second darker colour of pigment.
-
Step 7
Dip a clean paint brush into the All Purpose Ink and paint over the wet pigment areas.
-
Step 8
Create a small hole in the top of your Walnut ink crystal’s protective covering once you have removed the cap. Shake a small amount of crystals onto your project.
-
Step 9
Mist the crystal with water and leave it to react naturally.
-
Step 10
Lift your art work and let the inks flow together to create an interesting effect. Leave it to dry naturally.


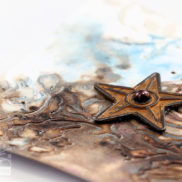
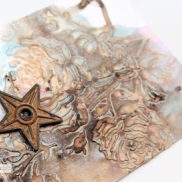
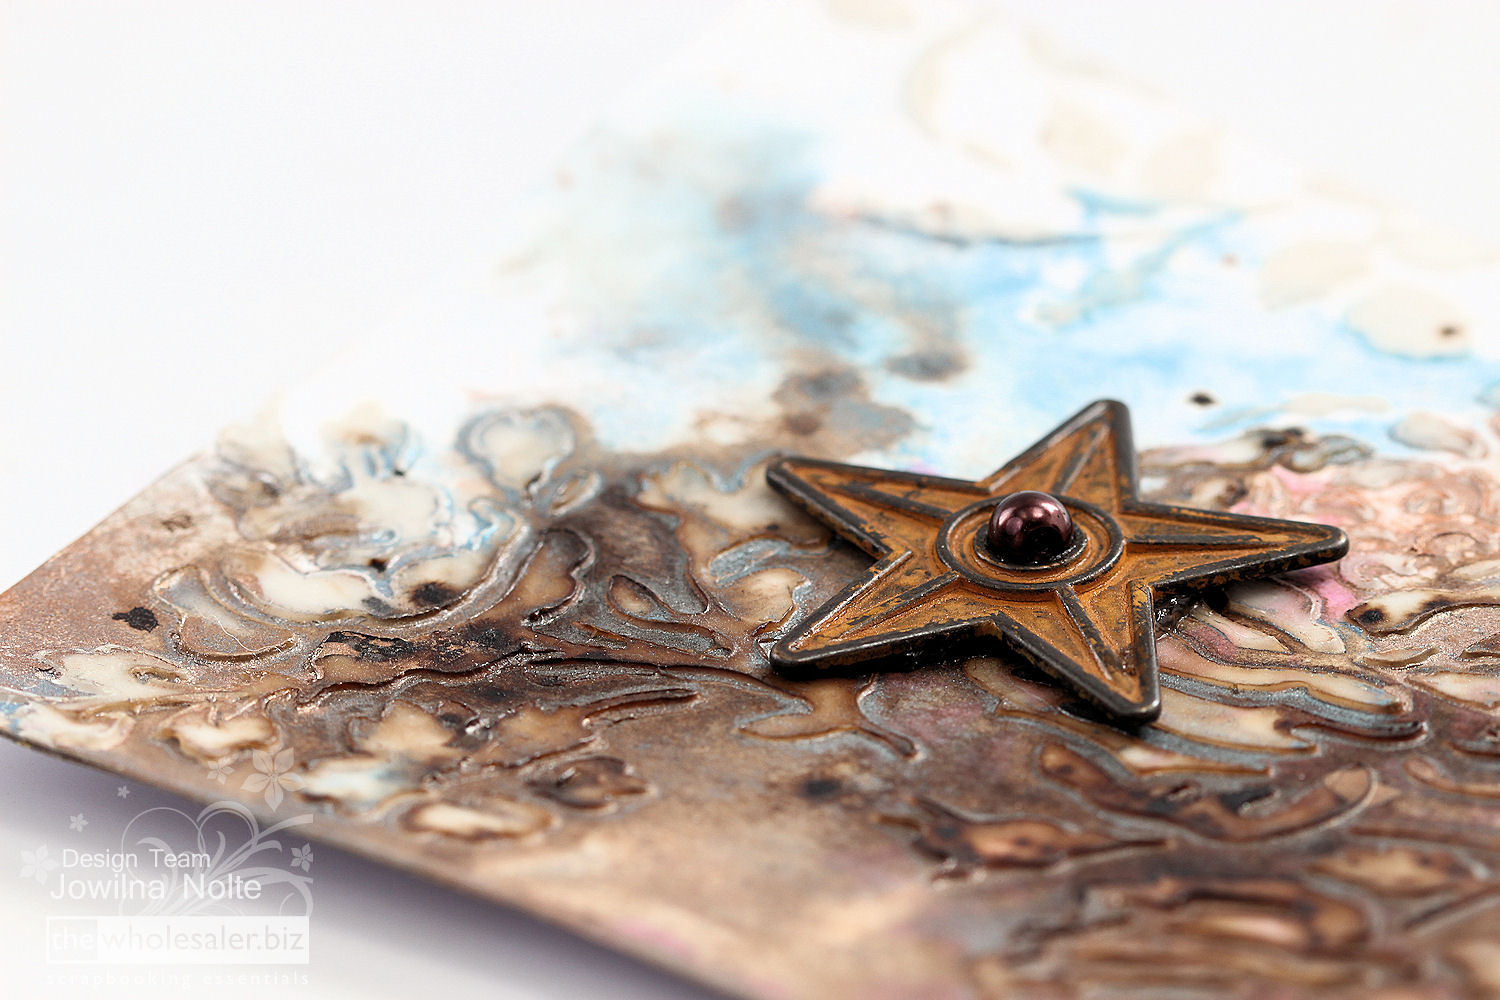
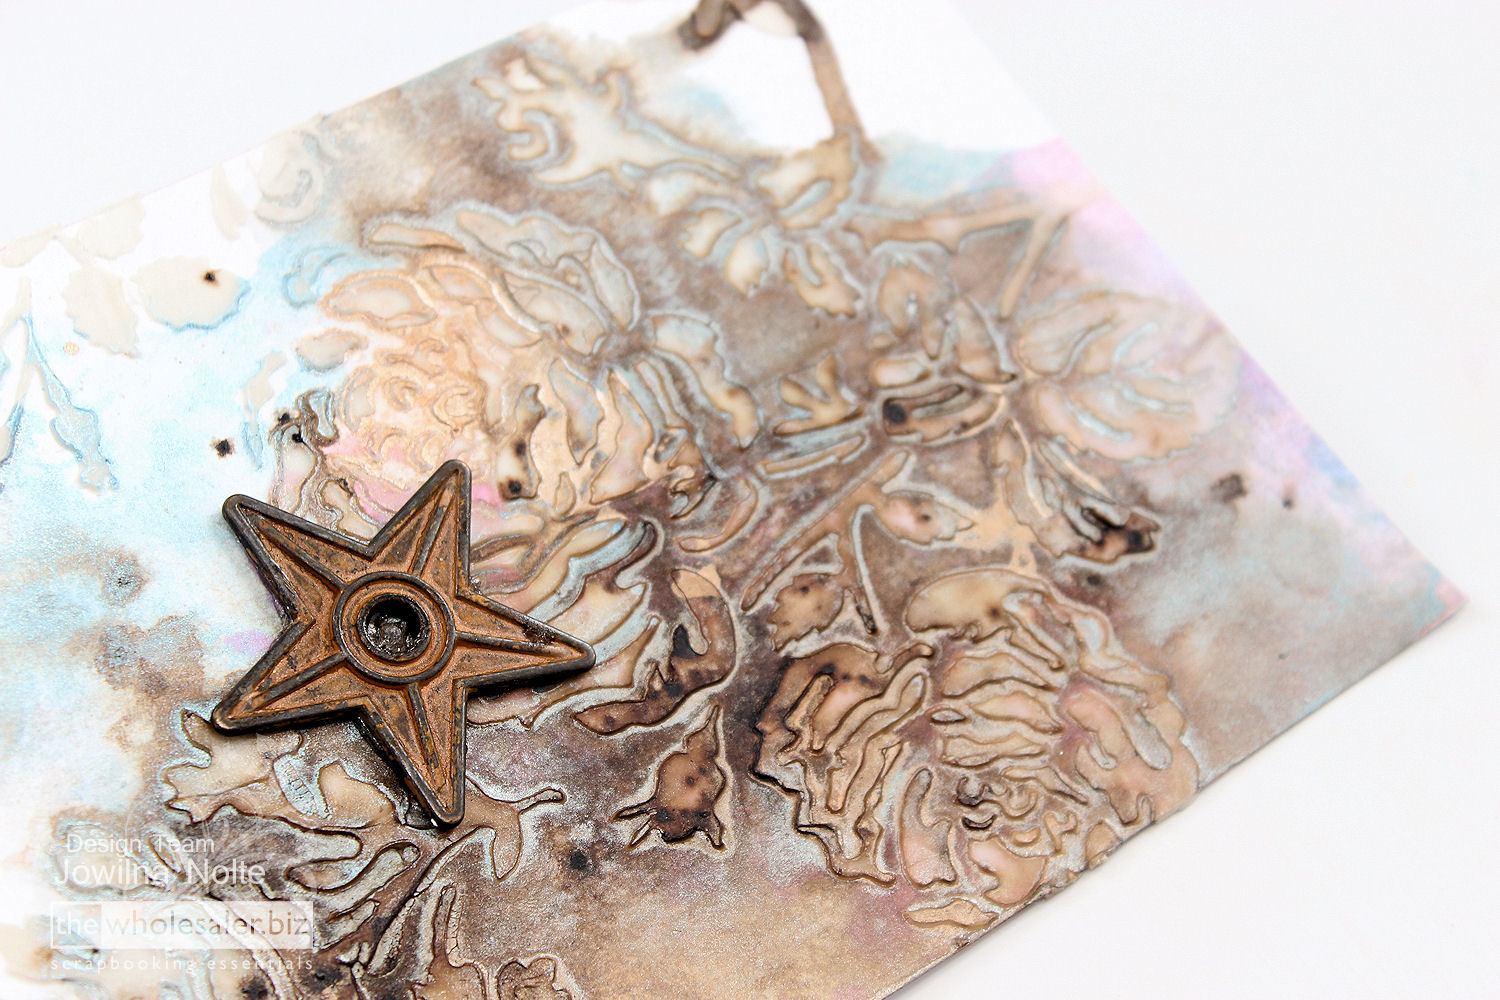
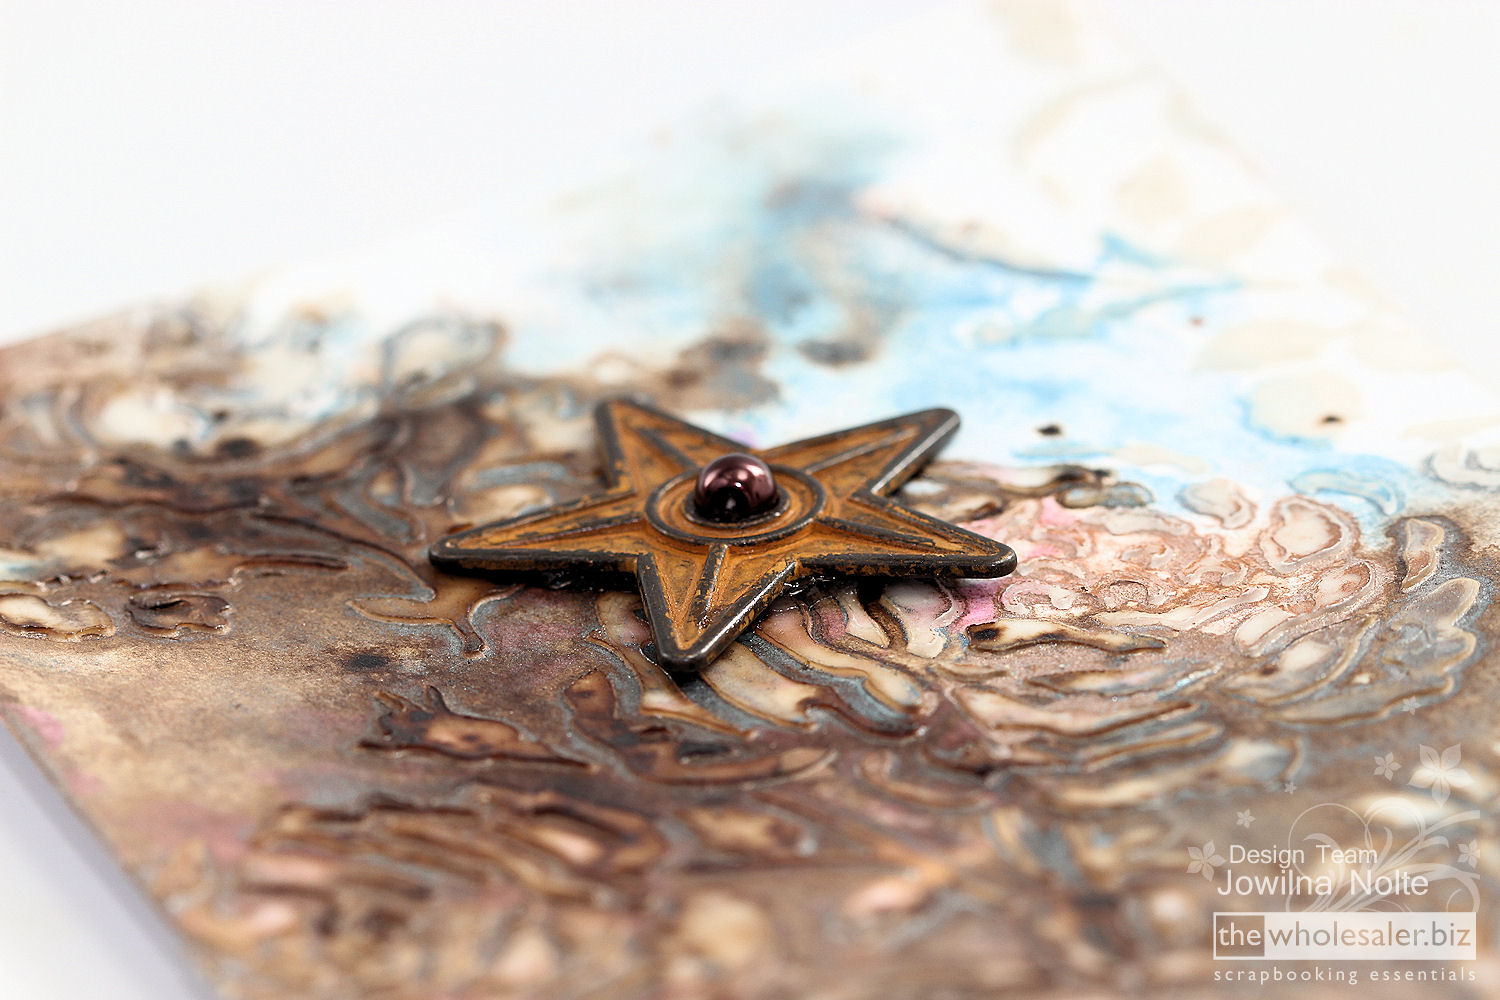
Once dry add a few embellishments and see how your layers of shimmery goodness makes for an interesting work of art.
Products Used
- ADCO 724866 Anna Griffin Mix & Match Pigments (12 piece set, 10ml)
- ADCO 724868 Anna Griffin Texture Paste – Gloss Finish (250ml)
- TAPI-075 All-Purpose Ink – Black Pearls
- TWI-001 Walnut Ink Crystals
- ADCO 724888 Anna Griffin 8×8 Stencil – Secret Garden
- Other: metal star, pearl, adhesive, palette, palette knife, paint brush


5 Comments.
Love the walnut crystal idea… never thought of that! Super project. Thanks Jowilna Nolte for sharing your amazing talent with us each week.
Wow, Jowilna, beautiful piece ❣️
Thanks so much my American MOM :-) and Cath xxx
Gorgeous!!
beautiful effect!!!