
Today I am sharing a quick idea on how you can create a realistic brick wall on your cards, layouts and mixed media projects.
I used this beautiful, brick stencil from Kaisercraft combined with some of my other favourite inks and mediums. Here’s how I created this look.
-
Step 1
Add a small amount of embossing paste onto a palette.
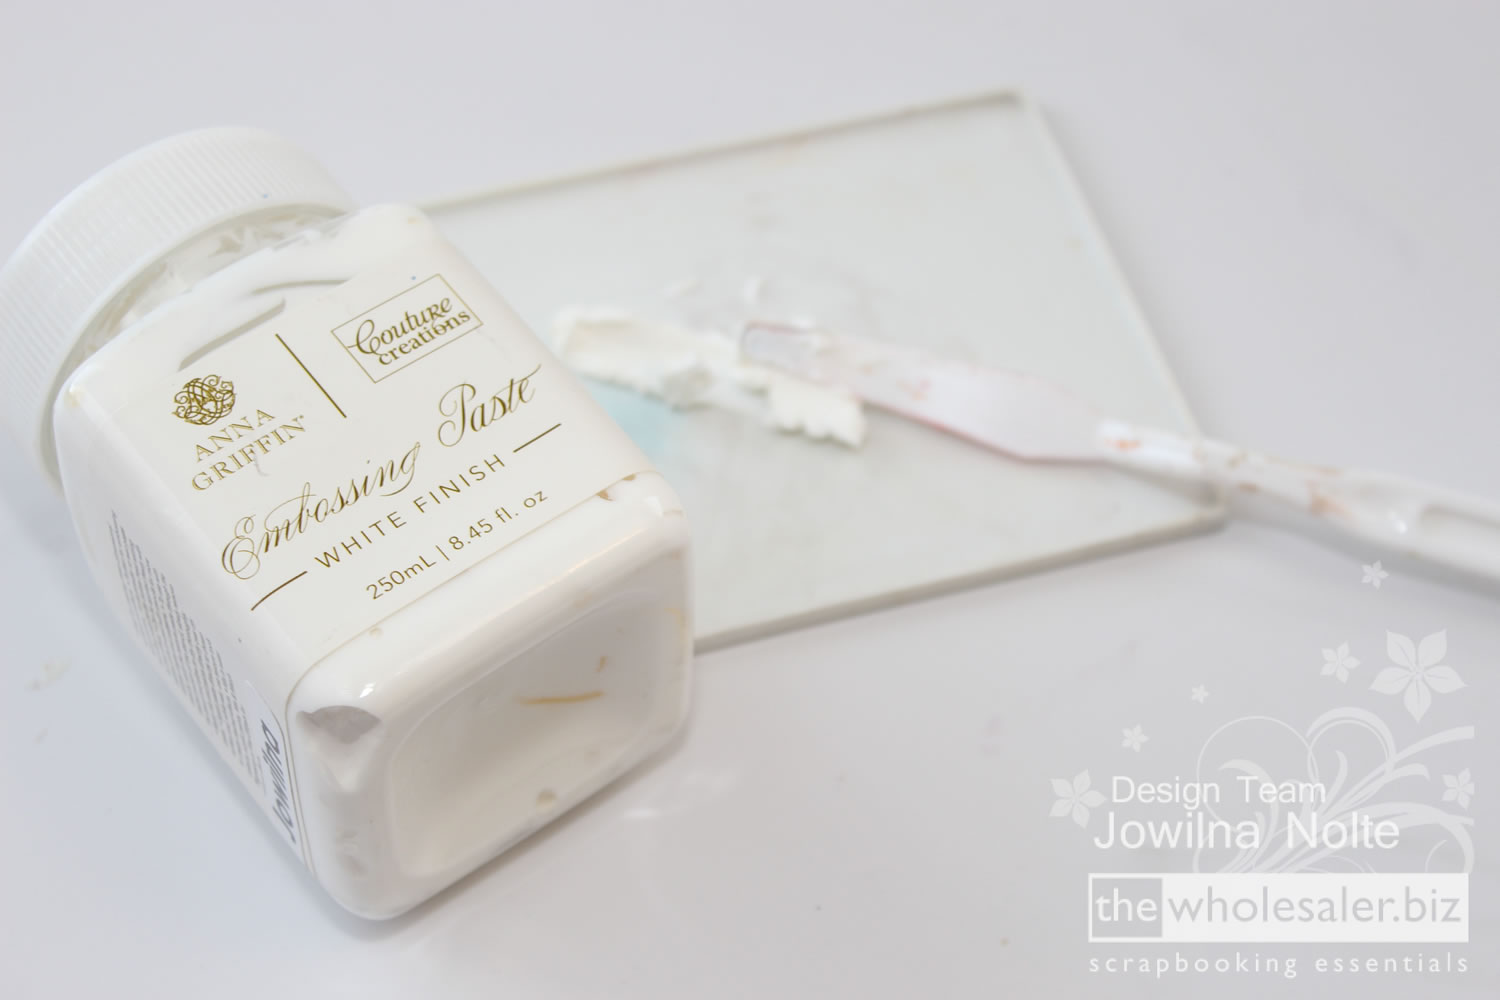
TIP: Mixing a small amount at a time is best – you can always mix more but when you mix too much you end up wasting.
-
Step 2
Use a pipette and add 3 drops of All Purpose Ink in the colour Poppy Red. Mix the colour into the embossing paste using your palette knife. Keep on mixing until no white is visible.
-
Step 3
Position your stencil onto your surface and tack it into place using a piece of painters tape or washi tape. This will prevent the stencil from moving while you are applying the paste. Leave the paste to dry thoroughly.
-
Step 4
Once the paste is dry it is time to dress up the red to get more of a red brick colour. Use a pipette and add a single drop of All Purpose Ink in Autumn Leaf. Immediately mist the ink with some water to make the ink flow and spread. Add more drops of API ink until you are happy with the look.

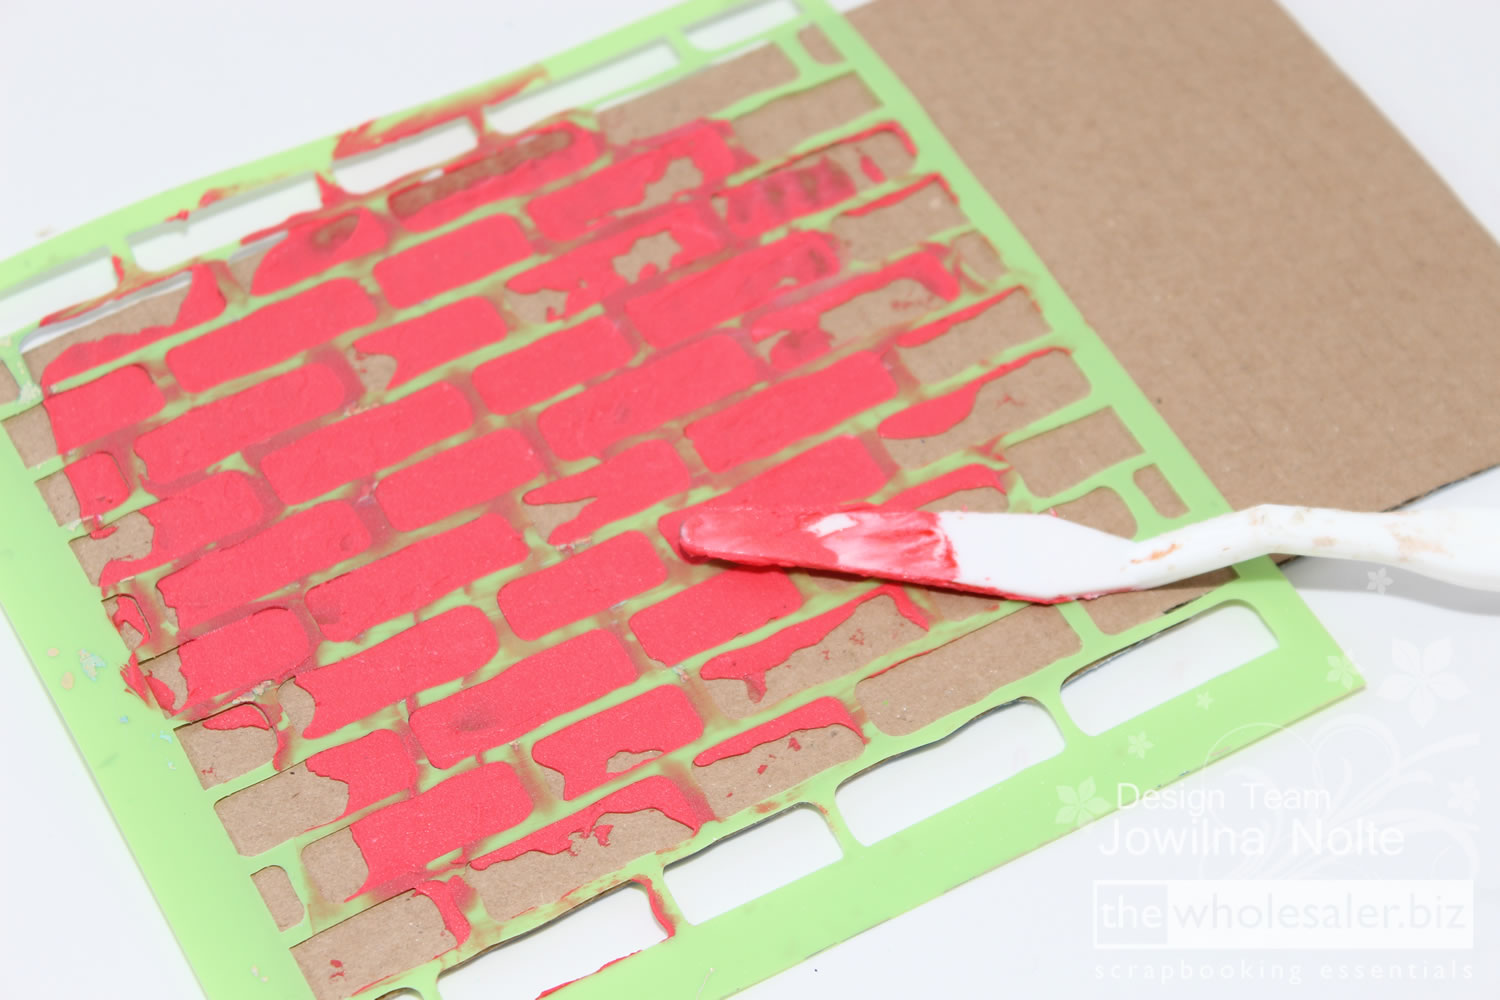

Leave the ink to dry and then add your finishing touches to your project.
Use a textured stamp and some VersaFine Gray ink to stamp some texture across the bricks and the background to add to the authenticity. Add walnut ink splats and some embellishments.

I worked on a piece of recycled cardboard as part of my Index card a day project.
Products Used
- Kaisercraft Brick Stencil
- TAPI-053 All-Purpose-Ink – Autumn Leaf
- TAPI-014 All-Purpose-Ink – Poppy Red
- TWI-001 Walnut Ink Crystals
- TWF-083 VersaFine – Smokey Gray
- ADCO 724870 Anna Griffin Embossing Paste
- C8 CR63047 Celebr8 Flowers – Classic


2 Comments.
Awesome stuff..sooooo love its
Stunning than you