
It is said that powerful things come in small packages then this little guy is the best! If you’ve never seen or used this little bottle of magic then be prepared to be amazed! When I first read about the All Purpose Ink from Tsukineko I was intrigued and couldn’t wait to play with it myself, so when the opportunity came up I was simply delighted. And so my inky journey continues…

All Purpose Ink…
- comes in a small bottle that is best used with small ink droppers to remove the ink
- is a water based ink that does not require any watering down – this means that you shouldn’t (read here: I did it and regretted it) water it down even when you think so, to say for instance, create your own mist. The consistency is just perfect for any application including misting and painting
- is blend-able and washable – which means it is the perfect ink to use on fabric (heat set it to be permanent on fabric)
- a quick drying ink on most surfaces – even glossy paper and cardstock
- a water based ink and non-toxic
- can be used on wood, leather, paper, fabric, ribbon and any other porous surface
- can be layered! If you layer the colours on each other you can create a watercolour effect, or if you want more definite colours you can heat set them between applications
About my project…

I used the All Purpose Ink to create some elements to use in my project life album. One of the reasons why I love my Project Life so much is that I can use all my experimental technique pieces on it, keeping a reference file on them but having a place to keep them creatively instead of in a box or even throwing them away – they now have a purpose!
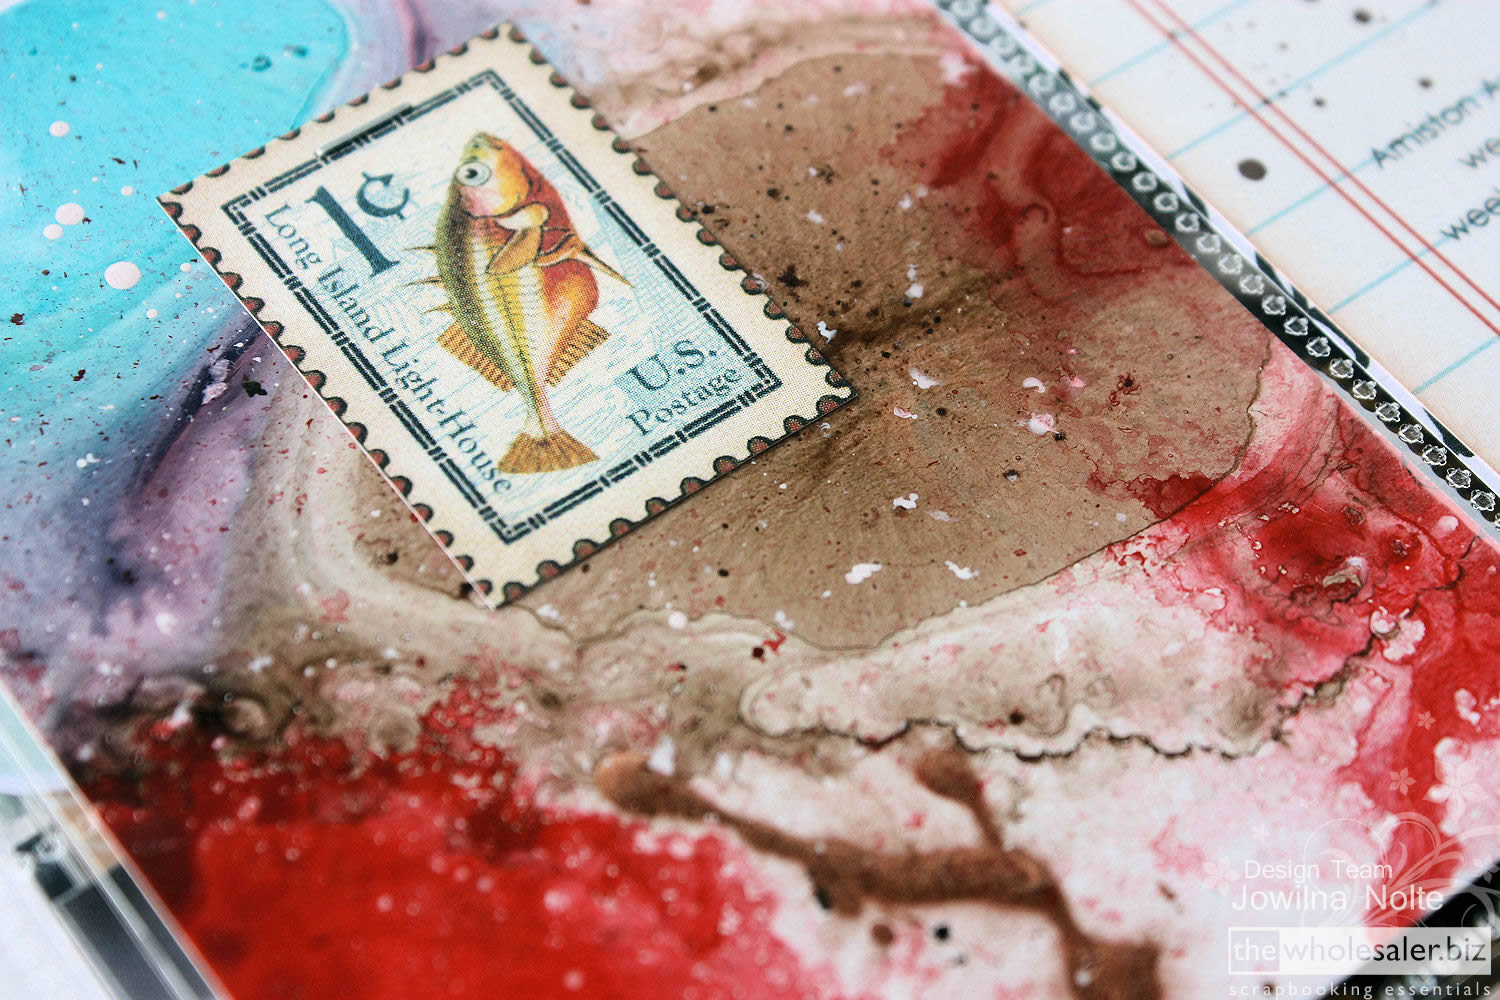
I started off by working on a piece of glossy cardstock. I used my ink dropper and added some drops of Tropical Lagoon (blue), Truffle (brown), Poppy Red (red) and Rose pink (pink) and white ink drops to my cardstock. I then misted the inks heavily with water and left it to dry naturally. The ink formed a beautiful marble effect that I could use as part of my Project Life layout.
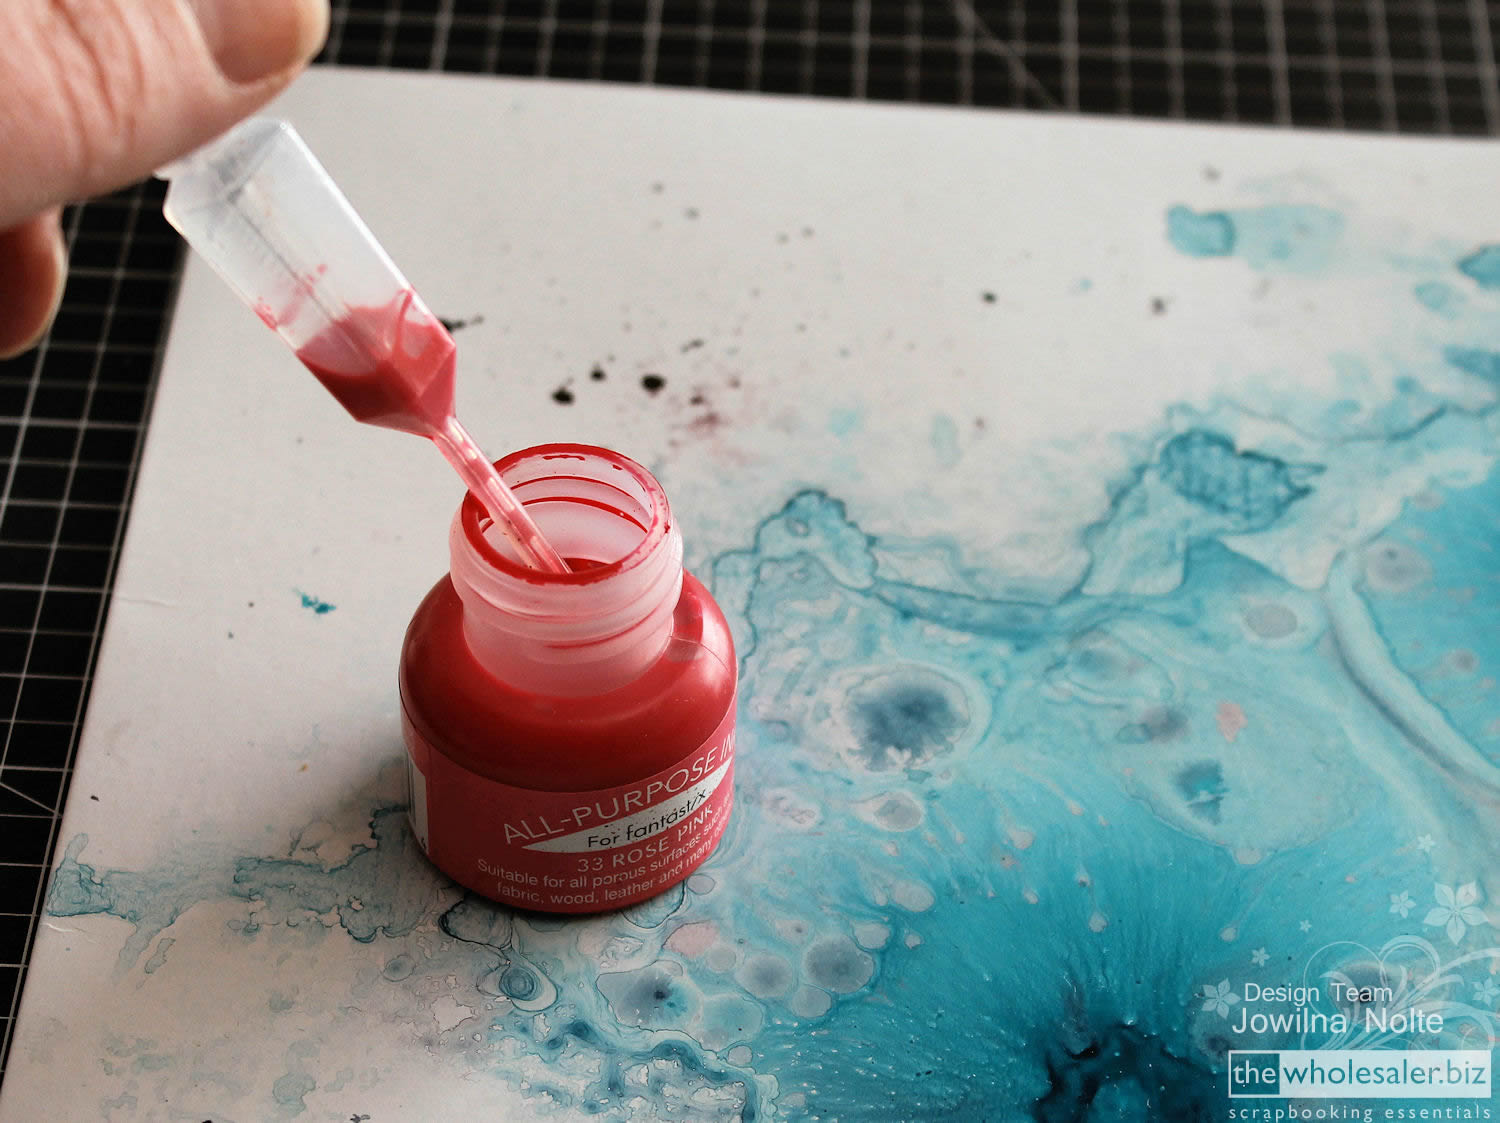


You can manipulate the inks by moving the cardstock around tilting it so that the inks flow and mix together with each other.
Once the ink was dry I used it to cut Project Life cards, stamp images onto the inked cardstock and then punched them into smaller and bigger circles to use together with stickers on my layout. You can create a huge amount of detailed elements to use in various ways by creating your own paper. A wonderful way to add interest to your projects.

I used the ink to colour some ribbon – simply drop different colours of ink onto the ribbon, mist it heavily with water and let it dry naturally or heat set it.
- TIP: Avoid adding too many colours right on top of each other, this will cause the ink to form ‘mud’ as the colours mix and form a brown mess. Spread the ink drops out from each other, mist with water and let the water move and spread the ink naturally to form a colourful effect. You will notice that some colours mixed together will create other colours – it really is amazing!
(I did not heat set my ribbon as I won’t be washing it but rather keep it in my Project Life album)


The ink is perfect to create little splats on backgrounds to add interest. I dipped a small paintbrush into the ink, held it over my paper and tapped the front part of the brush lightly to flick the paint onto the paper. I did this to my PL card with my journaling printed straight onto the card – the ink splats forms the perfect amount of detail.

You can use the all purpose ink to transform those old embellishments and make them new. I used the Copper All Purpose Ink to paint my old gold brads and make them look amazing.
- TIP: place your brads back into an old brad sponge to hold them. Then apply a layer of copper ink and leave to dry – add another layer if you need more coverage. The copper ink is a lot thicker than the other colours so painting elements with it only requires a single layer which is amazing.

Watch this space for this wonderful ink – coming soon to The Wholesaler!
Happy inking and creating.


4 Comments.
Oh I do love these inks! Thanks, Jowilna – awesome article!
looks like a fun play day
ooooo lovely. Thanks for the tips on the usage of these inks. Looks like I will be more broke in future as we will need to get some of these to play with too.
..Jowilna, jy kry selfs vir my opgewonde oor ink…;-D….xx