
Remember back when you were a kid and stencilling on your walls and everything else was so fashionable, well did you ever imagine that it would be one of the hottest trends in scrapbooking? I am not sure I did…but I am glad to be around for it though.
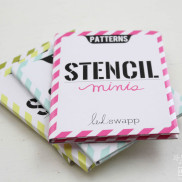
Enter the wonderful world of stencilling with Heidi Swapp
I love stencils, and those with neutral designs that can be used for any theme are my favourites. Incorporating them subtly into my designs to add rather than to distract or overwhelm the overall design. So for this layout I used my stencils in pretty ordinary ways but with stunning results – what I wanted to showcase is that by using something new with the products you already may have on hand makes your stash go so much further and gives a different result each and every time.

Create your own patterned paper
I started off by creating a base of patterned paper for my middle section of my layout. I then created a stencilled and inked piece of cardstock as part of layering. I love how I can dictate the colour combinations of smaller pieces of art work that will in the end work with the whole design. I used a combination of stencils, misting and inking to create a fun piece of handmade cardstock. Start off by misting one of your stencils, then add a layer of inking by dipping your cardstock into ink misted with water, and lastly use a different stencil to ink a pattern over everything.

Stencilling directly on my background
I used my triangle shape stencil and first inked a layer of creamy chalk ink using a sponge dauber, and then once the ink was dry went back and stencilled a second layer of green but this time slightly off-setting my stencil.


Stencilling a word with different mediums
For my “fab-O” word I used 2 colours of Mr Huey’s inks gold and brown to stencil with. I misted the 2 colours of inks on top of each other and then used a sponge to lightly mix them before stencilling onto my background cardstock. The 2 colours enable you to get lighter and darker spots adding more interest to your word than just a flat single colour. Adding gold, silver or shimmer to a solid colour like I did gives a stunning shimmery look. I like working on white smooth cardstock for a background because it enables me to stamp, stencil and ink without any hindrance from textures.


Things to do with your stencils
- #1: Use mists and sprays over stencils on a background
- #2: Sponge over stencils with acrylic paint
- #3: Trace your stencil shapes and sew them
- #4: Use VersaMark ink and decorating chalks for a soft chalky look
- #5: Use VersaMark and pigment powder to add subtle colour and patterns to backgrounds
- #6: Create a resist technique using a light coloured acrylic paint and darker dye inks over it
- #7: Stamp through your stencils after adding colour using text or texture stamps
- #8: Overlap and double up your stencils combining contrasting colours or shades
- #9: Ink with white through your stencils followed by colour for a funky off-set look. White on coloured cardstock looks stunning too
- #10: Use texture paste with stencils. Add colour and even glitter to the texture paste before applying it through your stencil. An old credit card works really well to apply texture paste through delicate and detailed stencils and achieving a thin layer
- #11: Mist the back of your stencils (words) with mist inks and then press your cardstock into the ink lightly applying pressure. This will give you the reverse of the stencil while the word will be correctly displayed in a layer of ink
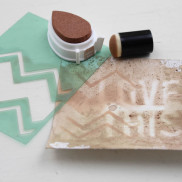
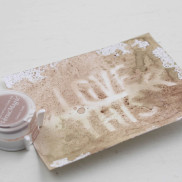
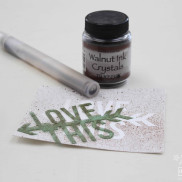
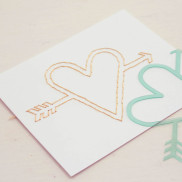

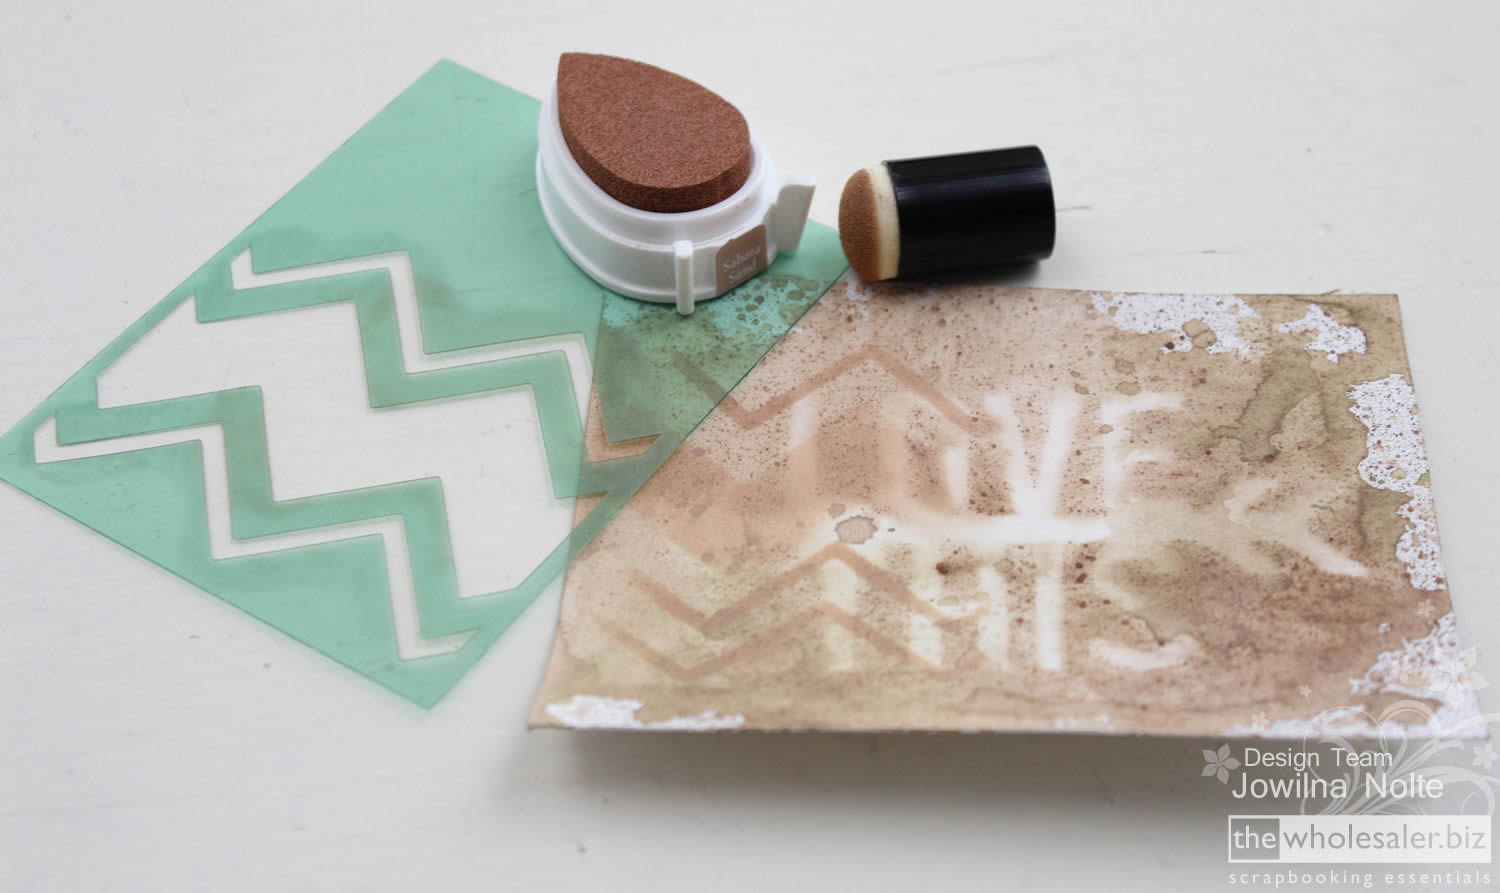
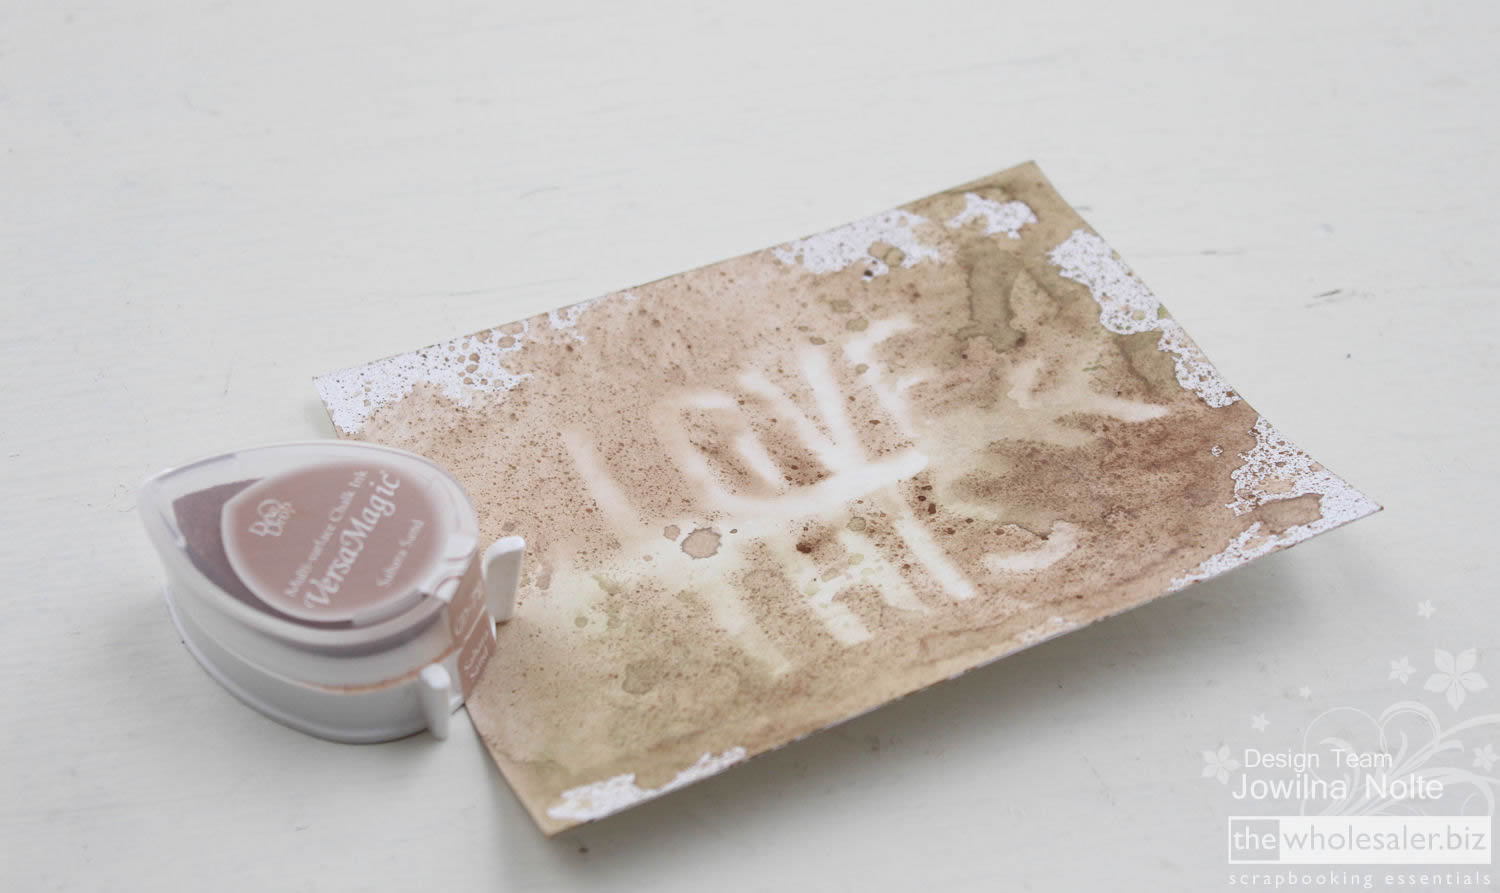
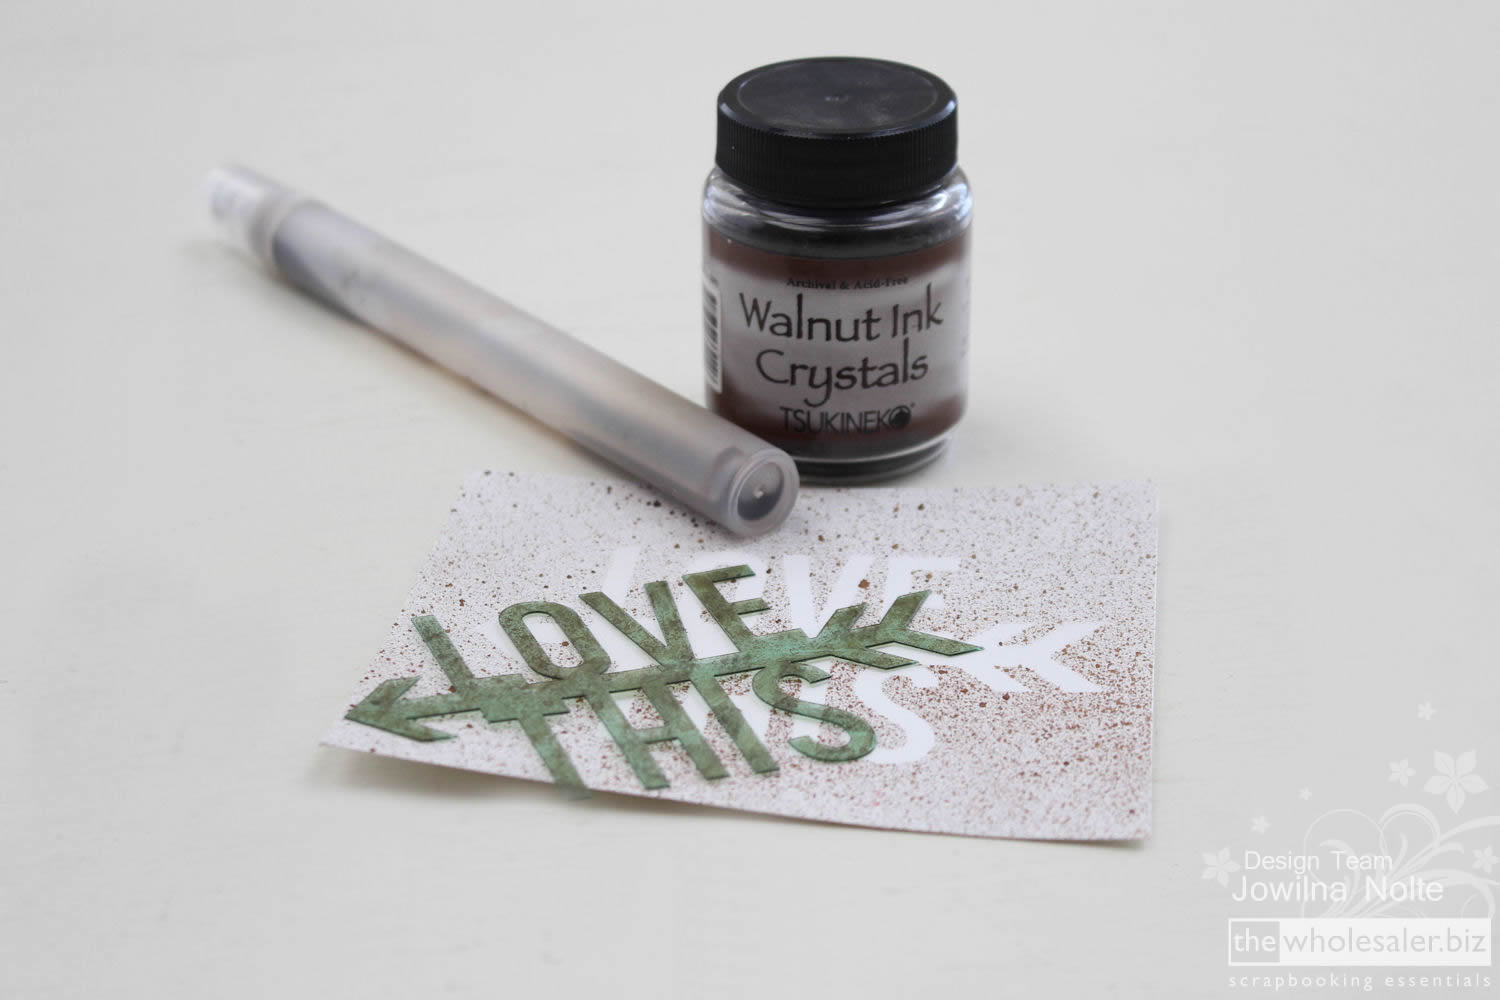

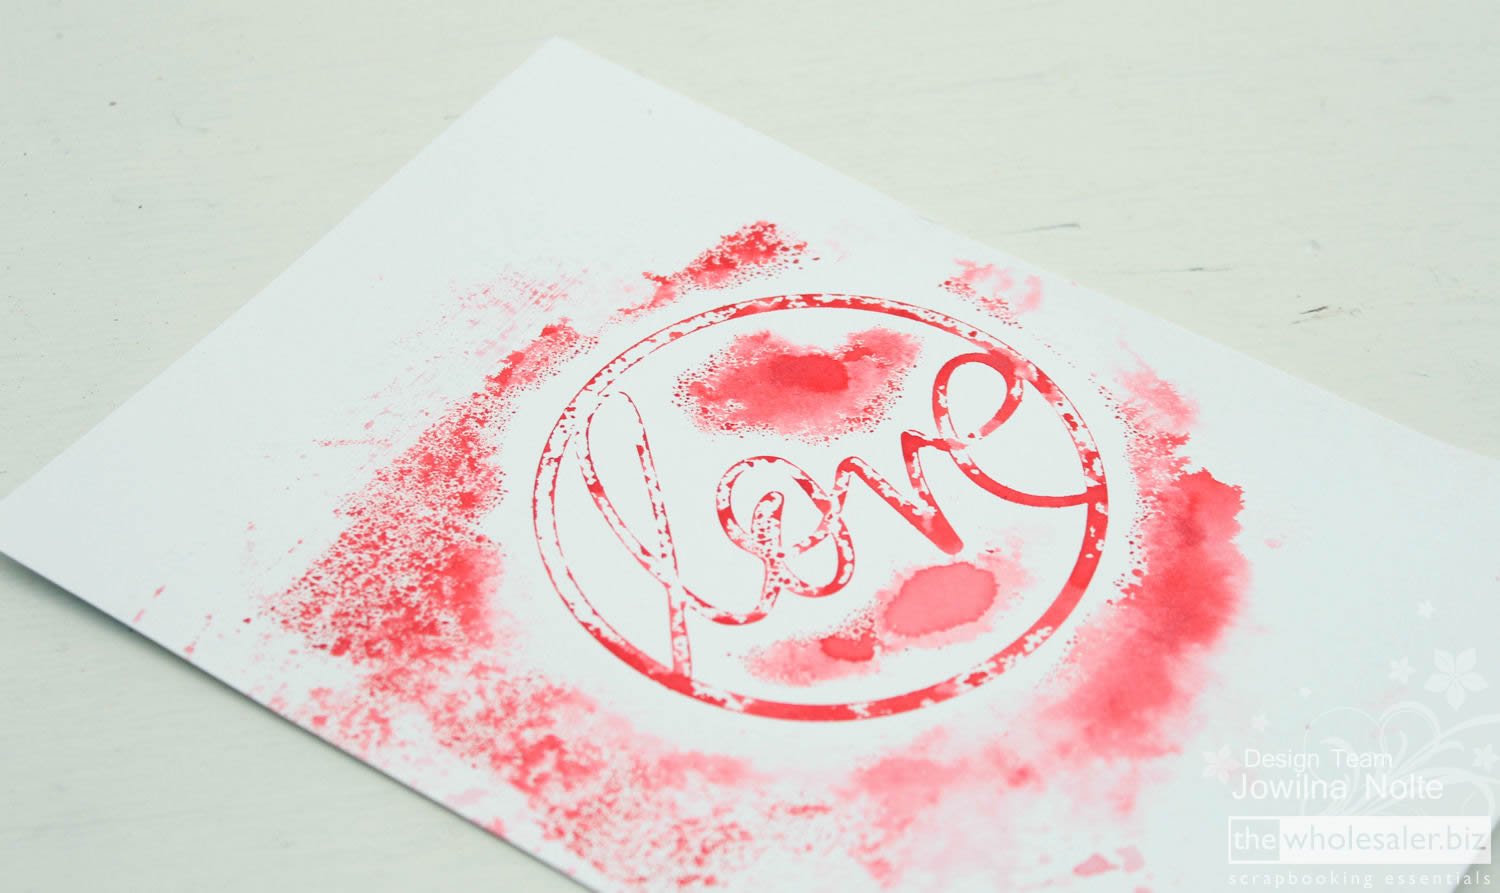

The possibilities really are endless when it comes to these versatile stencils from Heidi Swapp.

Tips for working with stencils
When you are working with stencils, position them in place and then secure them with a piece of washi tape to hold them down until you are done so they don’t move
Once you have placed your stencil on your background, cover the edges especially when working with smaller stencils to avoid inking over the edges and creating unwanted marks on your background.
I hope you are able to try at least one of the 11 ways to use stencils. Show and tell, please!
Products Used
- AC 01191 Heidi Swapp Stencils – Patterns
- AC 01192 Heidi Swapp Stencils – Shapes
- AC 01193 Heidi Swapp Stencils – Words
- AC 01194 Heidi Swapp Stencils – Frame
- KCP1572 Bow & Arrow Double Sided Paper – Fire
- MS 101074 Never Grow Up Double Sided Paper – Never Never
- TWI-001 Walnut Ink Crystals
- TGD-58 VersaMagic Dew Drop Ink Pad – Hint of Pesto
- TTGD-82 VersaMagic Dew Drop Ink Pad – Wheat
- ADCO 723623 Couture Creations Sponge Daubers (6 Pack)


2 Comments.
Would like to use this idea, it is totally fab!
Comment